
Tiffany Lui
(She/Her/Hers)
Hello, my name is Tiffany Lui. I earned a Bachelor of Science (BS) in Molecular and Cell Biology as well as a Bachelor of Arts (BA) in History from the University of California San Diego. During undergraduate study, I did not have much time to engage in the arts, which was a challenge since I grew up deeply engaged in the visual arts, taking private art classes for thirteen years and competing in art competitions. At UCSD, I sought out ways to balance my science-heavy courses with the arts and humanities, either in the form of visual art or history.
This program was both familiar and unfamiliar. Digital and 3D art were unfamiliar to me and forced me out of my comfort zone as I never really tried these artistic media. Growing up, I mainly practiced traditional art forms such as painting and sketching. The semester of human anatomy was familiar but also new as I never had the opportunity to do cadaveric dissections until now. Overall, this program has given me new understanding and appreciation for what goes into creating a digital or 3-Dimensional piece of art.
My dissertation project is pharmacology-based and focuses on receptor-ligand interactions. I chose this specific project because it is directly related to one of my favorite topics in biology: cells and molecules, hence the undergraduate degree I chose.
Upon completion of this program, I will be starting another Master’s program at the University of Edinburgh in cancer biology and precision oncology.
How Do Drugs Work? Dissertation Project
How Do Drugs Work? Gamifying Receptor-Ligand Interactions is a pharmacology-based project that focuses on receptor-ligand molecular interactions. Pharmacology tutors at the University of Glasgow discovered that many students struggle with this threshold concept. The main goal of this project was to develop a game prototype that would allow students to gain a better understanding and appreciation of the 3D shape of ligands and their receptor binding sites. In the end, the game prototype became embedded in an application. Creating this application involved two phases of development. The first phase involved developing the game mechanism itself embedded in a simple application. Pilot testing was done to inform further refinements to the application and game. The second phase of development was based on the pilot testing outcomes and resulted in the addition of a learning module on G-Protein Coupled Receptors (GPCRs), the beta-2 adrenergic receptor, and one of its ligands, propranolol.
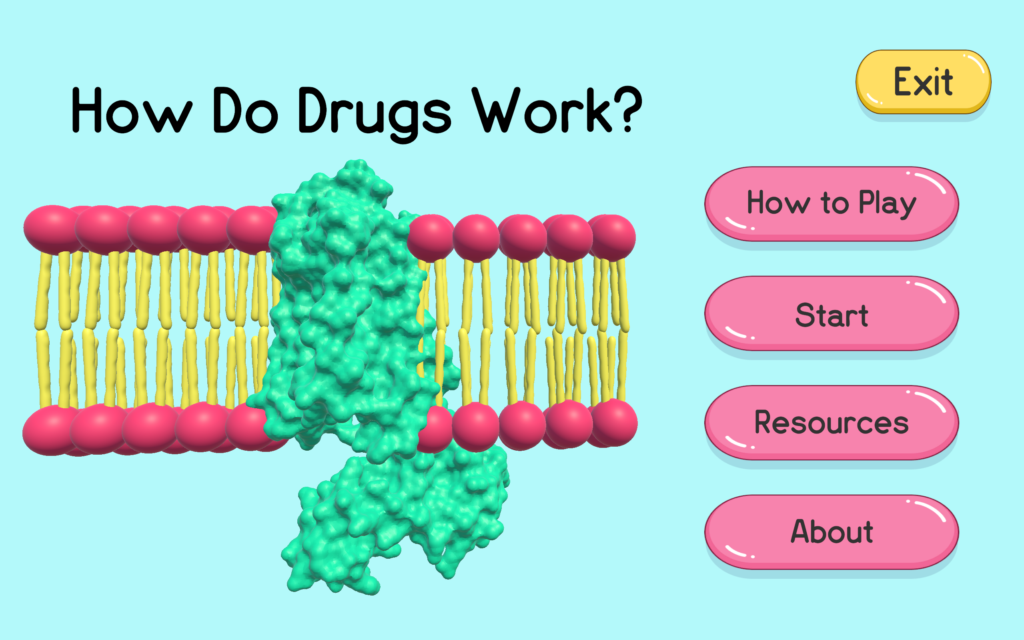
This is the main menu page for the How Do Drugs Work? Application
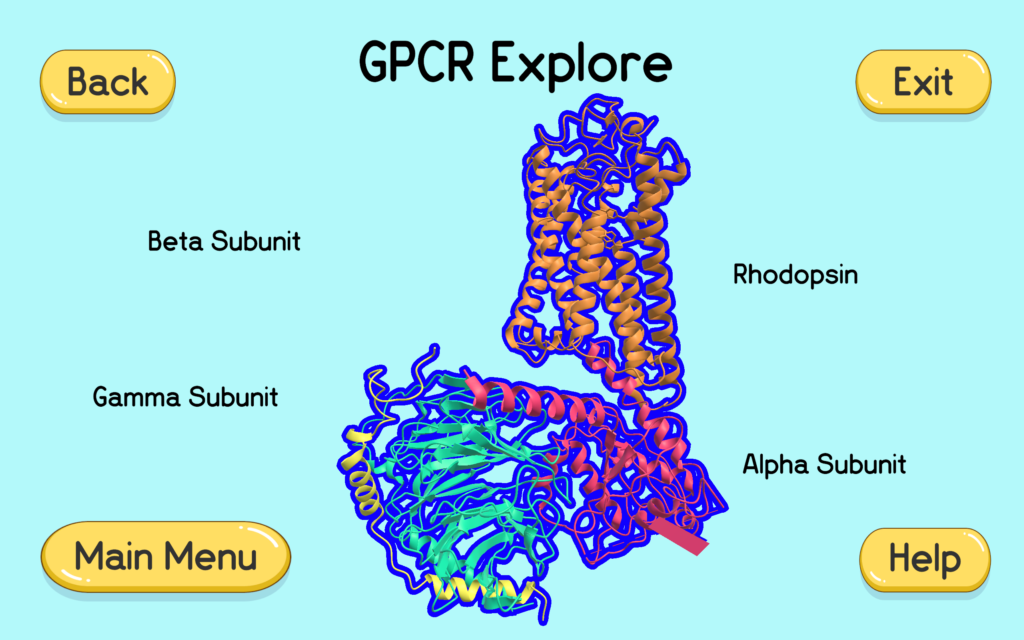
This scene allows the user to rotate and identify different subunits of the GPCR model.
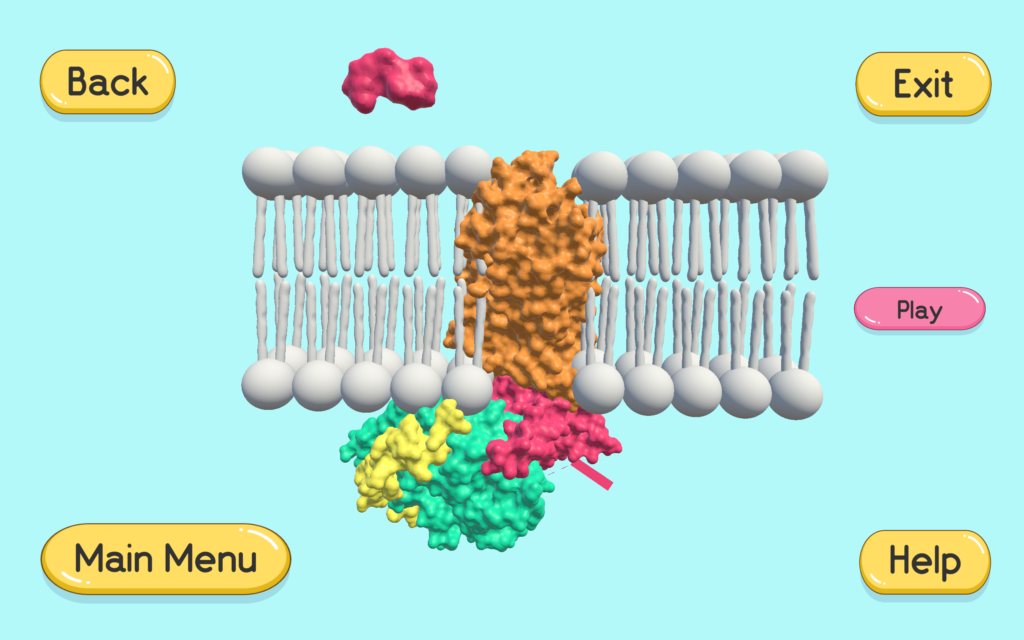
This scene contains an animation of what happens when a ligand (11-cis-retinal) binds to a rhodopsin GPCR.
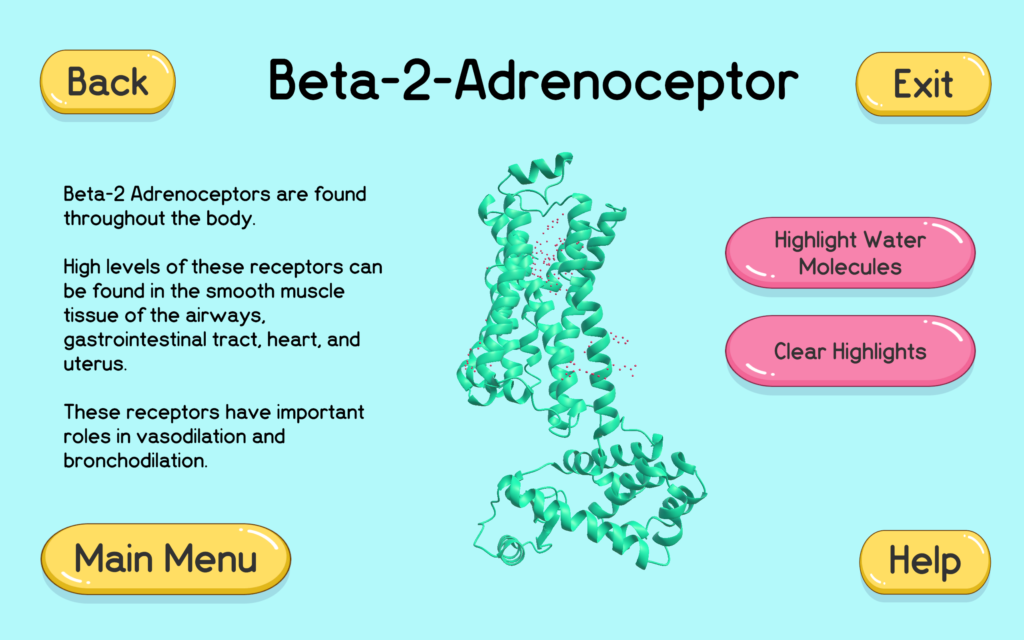
This scene allows the user to learn more about the beta-2 adrenergic receptor (also known as beta-2 adrenoceptor) and where water molecules are located relative to it.
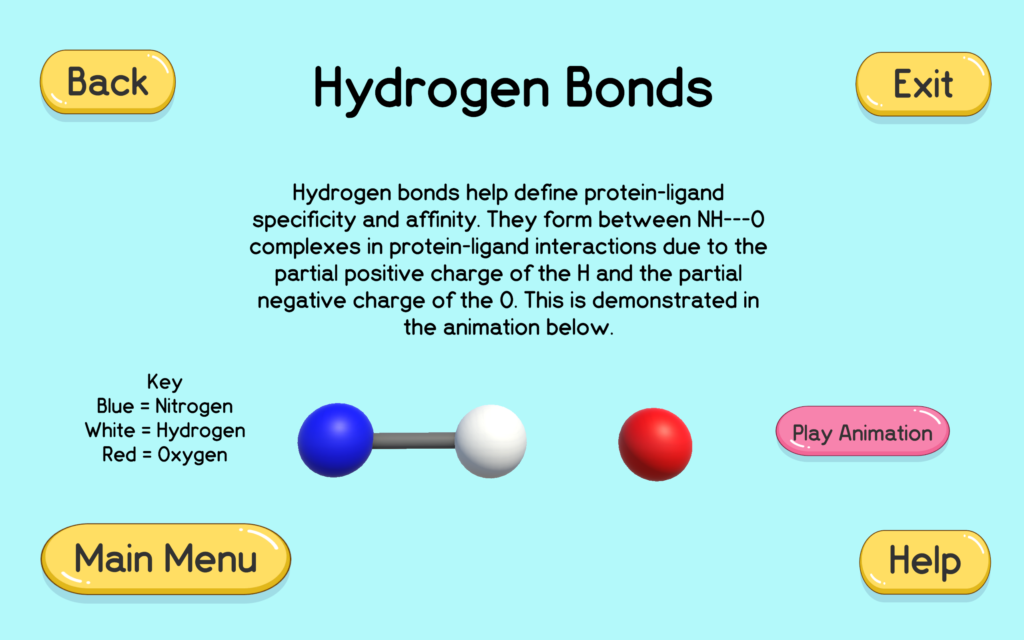
This is one of the four scenes that teaches the user about some of the chemical bonds and interactions that exist between receptors and ligands.
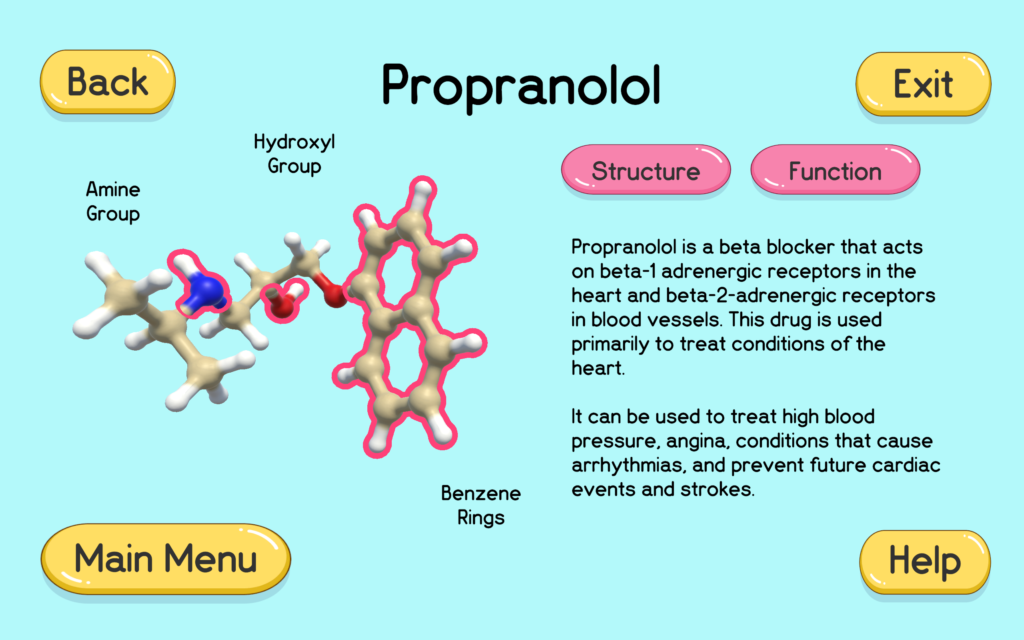
This scene allows the user to learn more about the structure and function of propranolol.
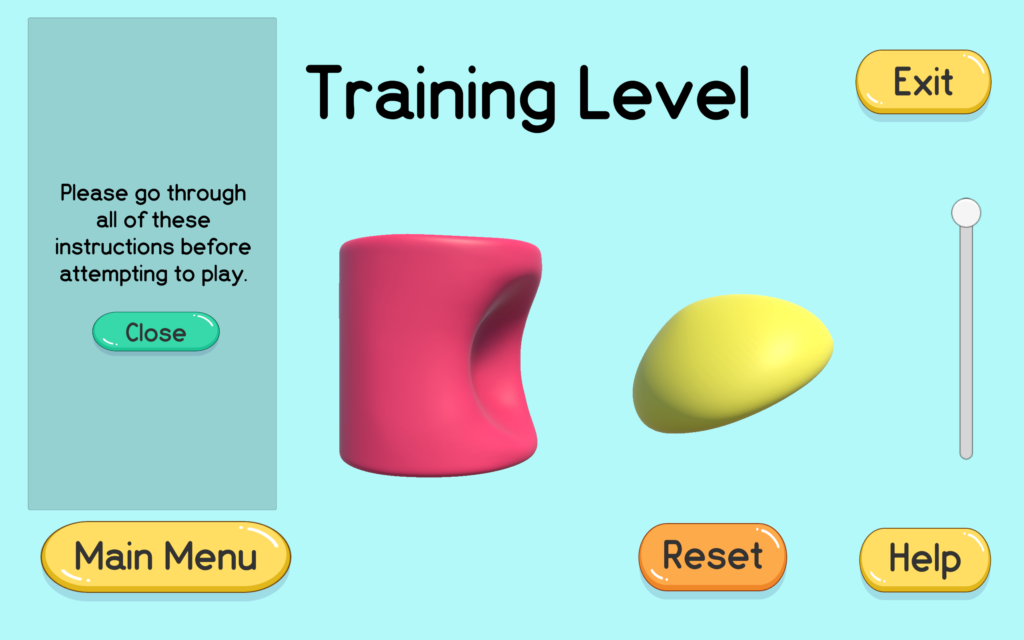
This scene allows the user to practice using the game mechanics without a timer before entering the first game level.
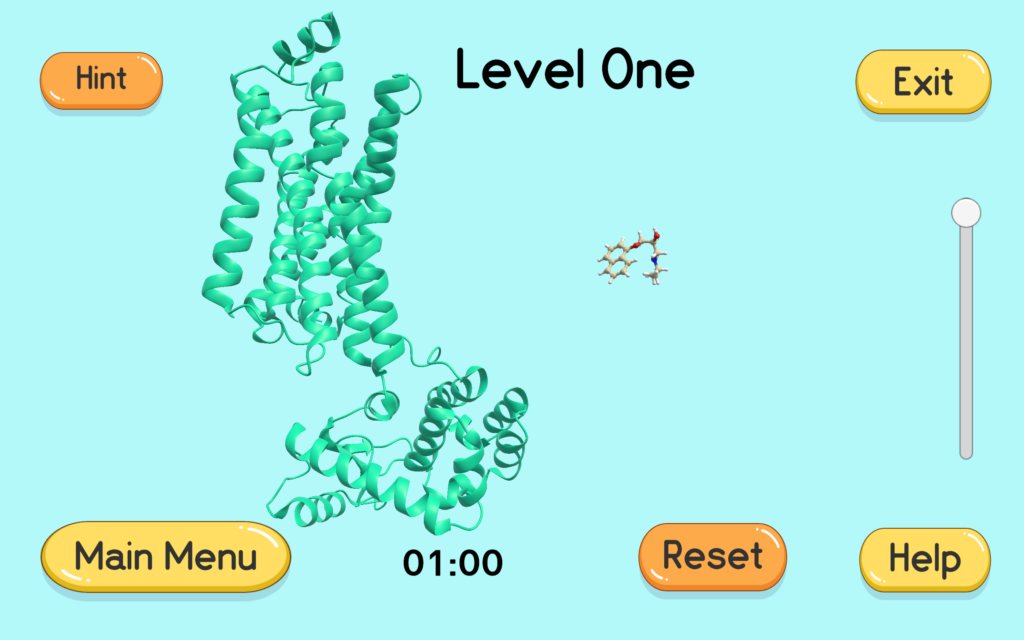
This scene is the first game level where the user must properly orient the ligand (propranolol) and place it in the correct binding site in the beta-2 adrenoceptor.
Interactive Applications
The images about the phospholipid bilayer are from diorama formative assessment for the Interactive Applications course during semester one. The images about the lungs are from the group assignment for the course; members of the group were Wei Lin and Andreea Nebunu.
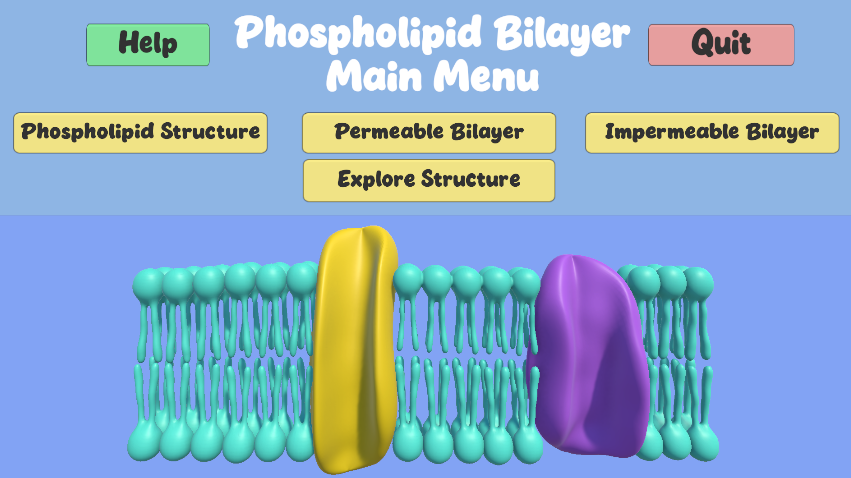
Shown is the main menu scene of the diorama.
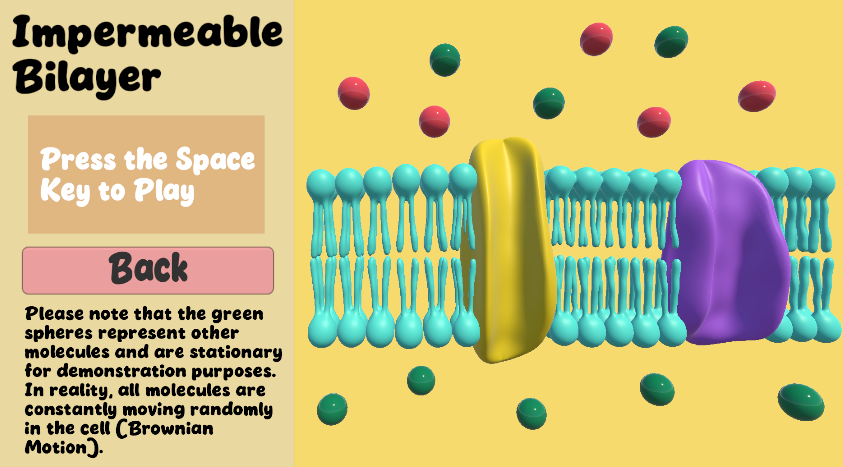
This scene allowed the user to play an animation with the space bar, showing what happens to ions (the spheres) when it is impermeable to the phospholipid bilayer.
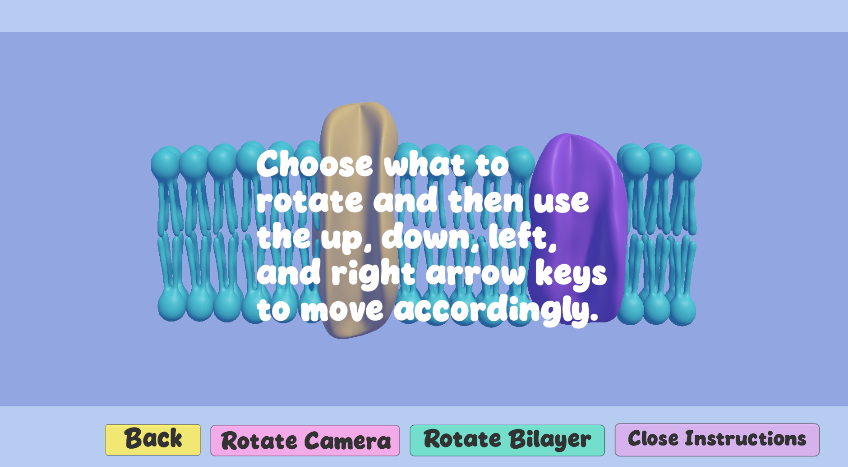
This scene allows the user to rotate a 3D model of the phospholipid bilayer. This was modeled entirely in ZBrush.
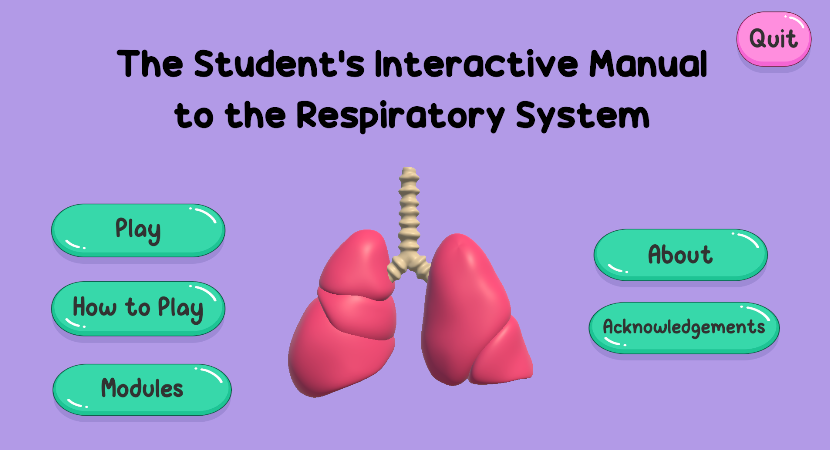
This main menu page allows the user to choose what they would like to explore first.
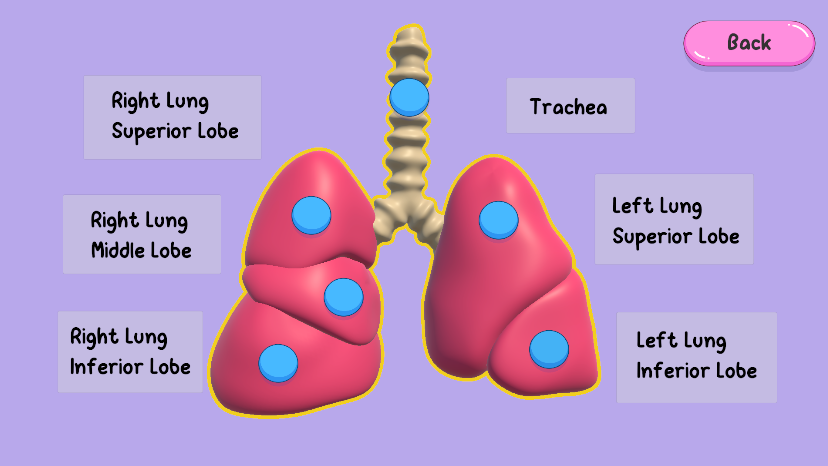
This page allowed users to click on each lobe of the lung and the trachea to reveal a corresponding label.
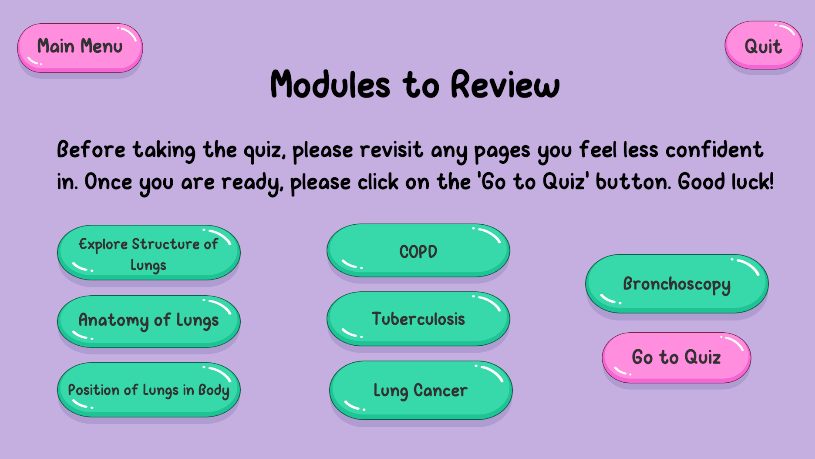
This scene allowed users to return to any of the learning pages in the application.
3D Modeling and Animation
The images and video shown here are from the 3D modeling and animation summative assignment in semester one. The assignment involved retopologizing, sculpting, and polypainting the bones of the lower limb using 3D Studio Max and ZBrush. The gastrocnemius muscle was sculpted using 3D Studio Max and ZBrush. The animation was done in 3D Studio Max and the video was compiled in Adobe After Effects and Media Encoder.
This video was created for the 3D modeling and animation course summative assignment.
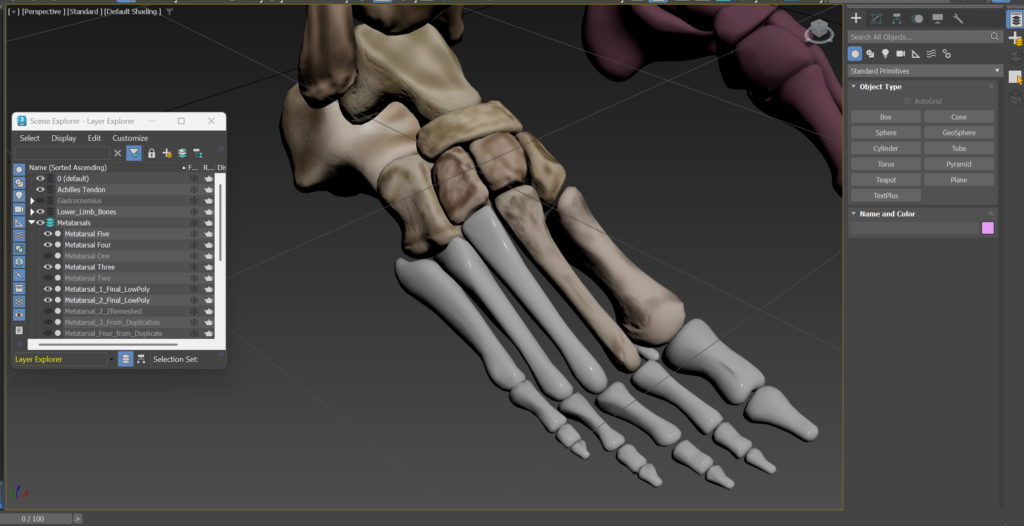
This shows the foot bones when the project was partially completed in 3D Studio Max.
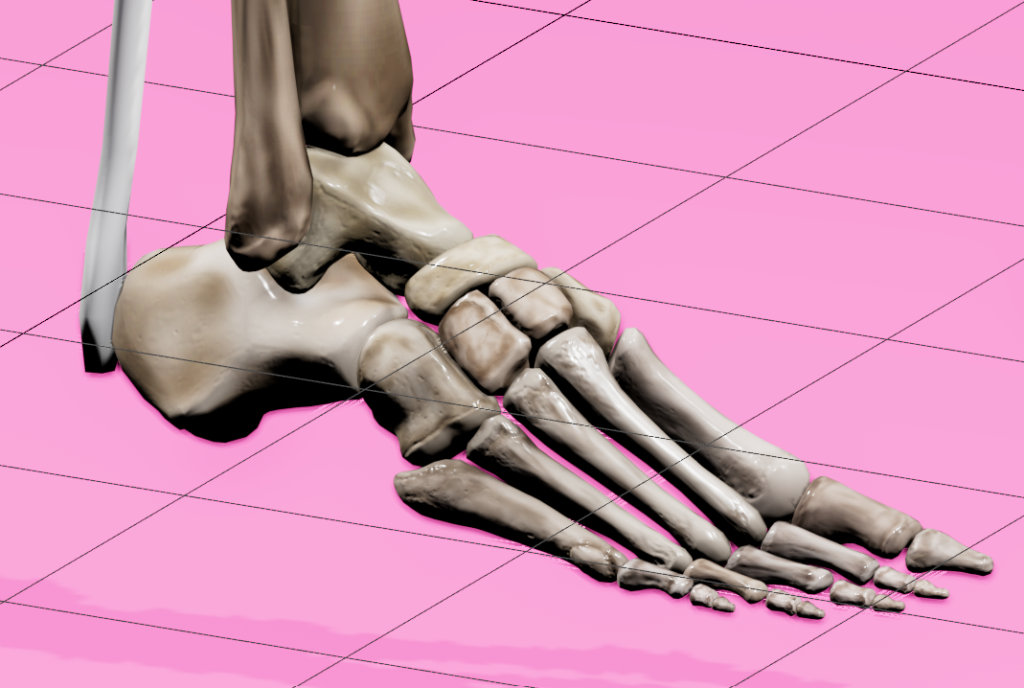
This image shows the completed foot bones in 3D Studio Max.
Volumetric Visualisation
The following images were all from the volumetric visualisation course during semester one. These were done using 3DSlicer and MITK.
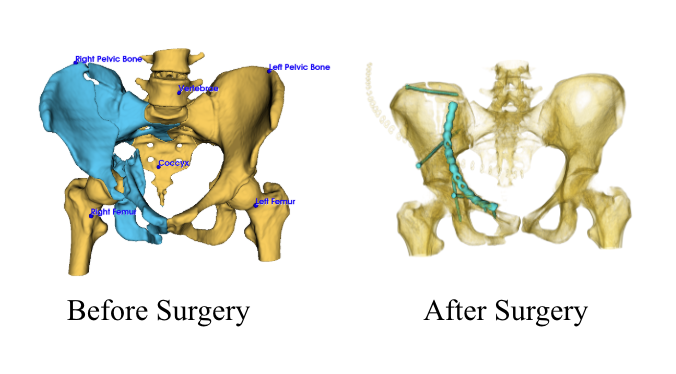
A fractured pelvis is seen on the left before surgery. The pelvis on the right shows the metal that was added to the pelvic fracture after surgery.
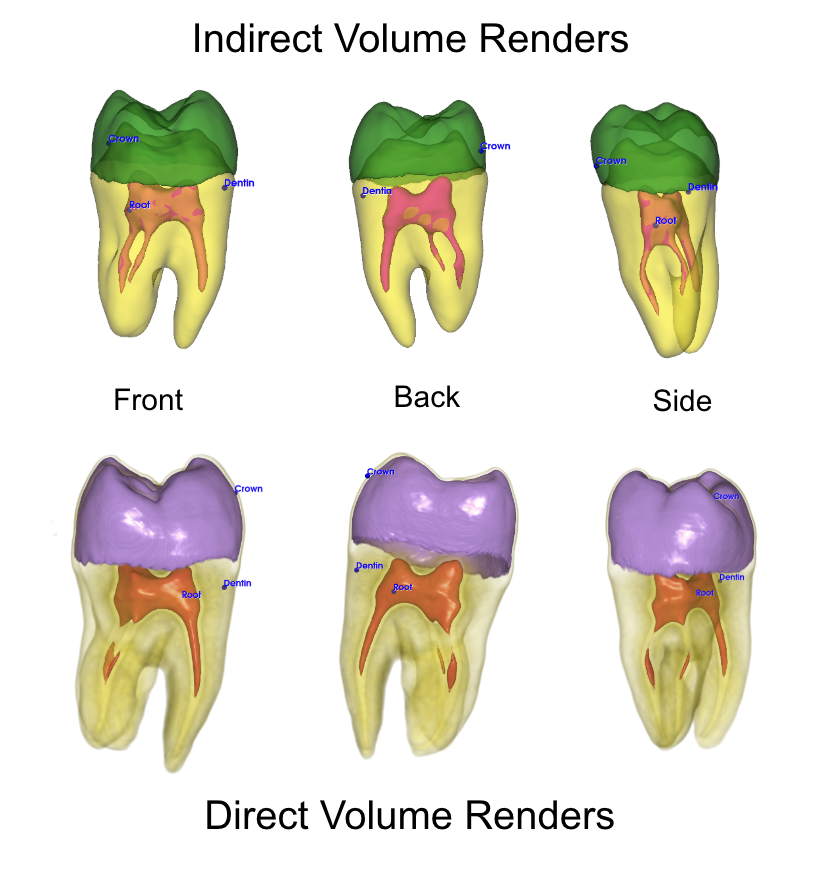
Shown are three different views of indirect and direct volume renders of a tooth.
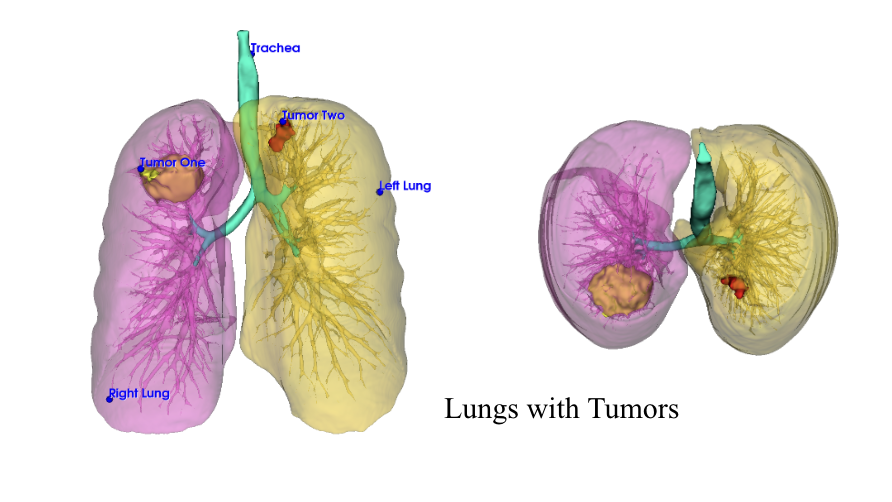
Shown are a pair of lungs with a tumor located in each.
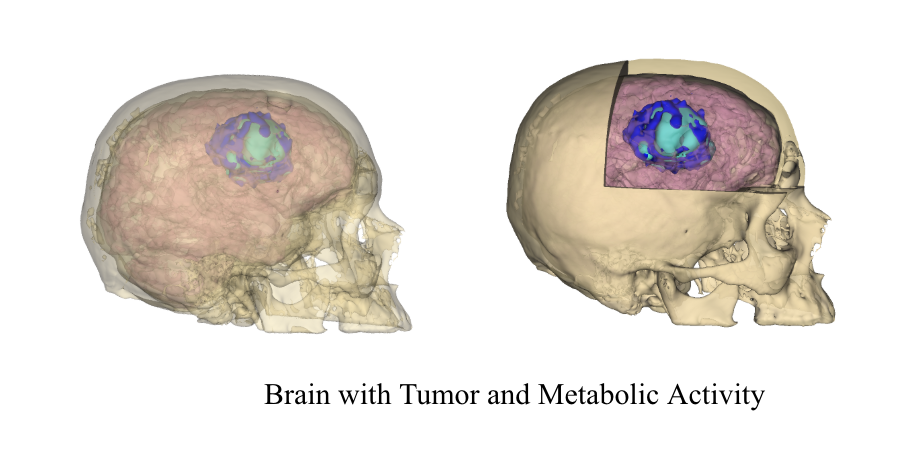
Shown is a skull with a brain containing a tumor and its metabolic activity.